How to Make Disney Cars Cookies That’ll Blow Your Mind
Are you a fan of Disney World cookies and would love to make a batch of your own? If so, you’re in luck, as I will show you how to make Disney Cars cookies that you’ll absolutely adore. In fact, this step by step recipe will have even the beginner baker look like a pro, making everyone jealous of your Lightning McQueen or Mater cookies!
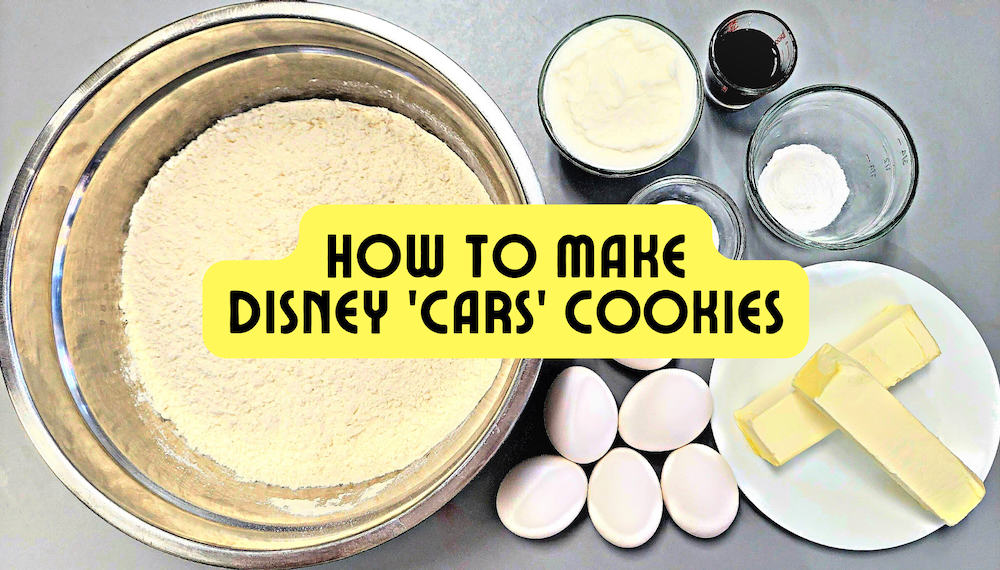
How to Make Disney Cars Cookies (Key Ingredients)
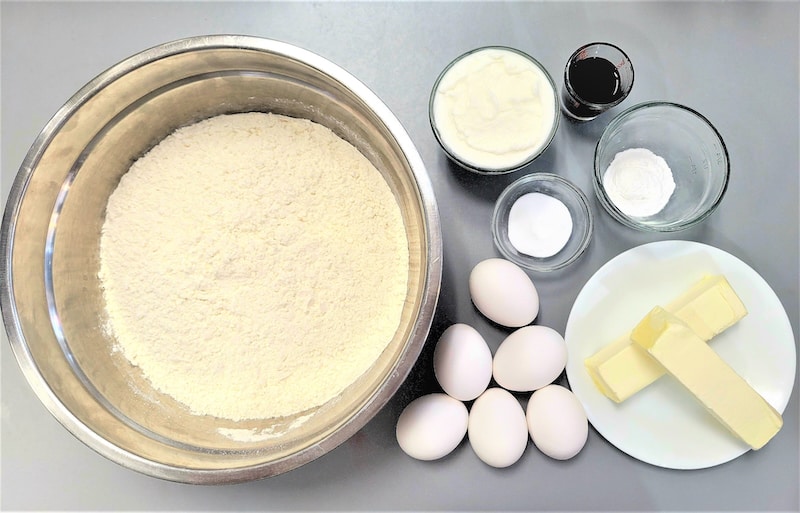
Here are the key ingredients we’ll need for this recipe:
Flour – I recommend all purpose flour. Make sure you spoon your flour into your measuring cup as to not over measure.
Baking soda – helps the cookies rise.
Cream of tartar – this helps to stabilize your cookies.
Sugar – granulate sugar keeps this cookie.
Large eggs – these bind your cookies.
Salted Butter – this gives your cookies that classic buttery flavor we all love so much.
Shortening – this helps your cookies have that nice soft texture.
Vanilla extract – I use pure vanilla; however, imitation vanilla is ok as well.
Additional Items You Need
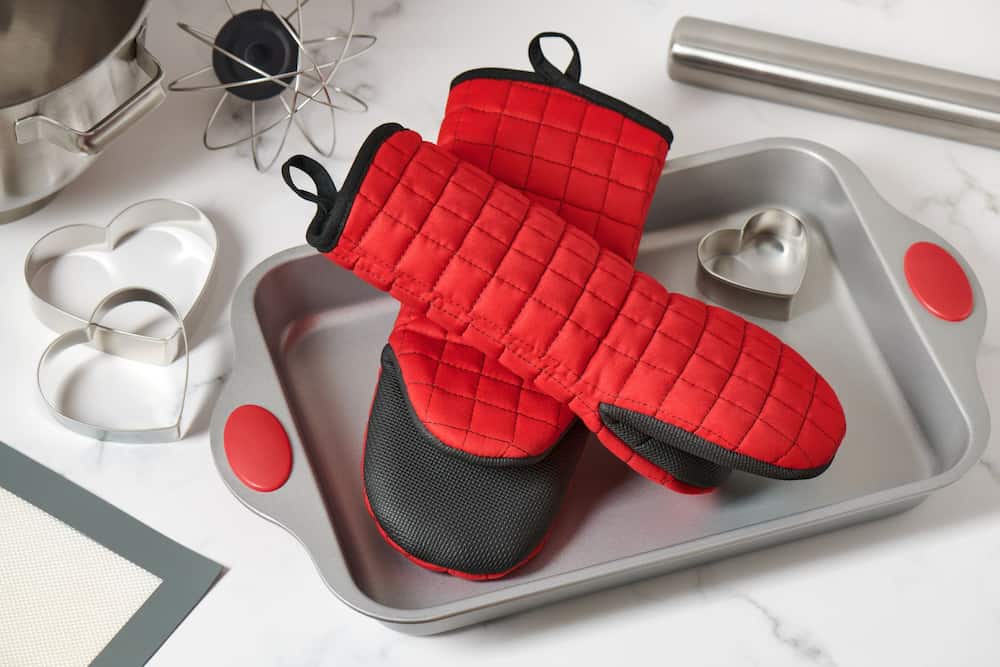
Cookie cutter – grab your favorite!
Small turner – this is to place your cookie on the baking sheet. Grab another to take the cookies off the tray.
Spatula – to scrap the bowl while mixing.
Parchment paper – to line the baking sheets. This helps the cookies from sticking to the pan.
Baking sheet – I use 3 to 4 to keep the cookies baking. You don’t want to put the raw cookies on a warm baking sheet or they will spread too much.
Hand mixer – to mix your cookie dough. A stand mixer works as well.
Large mixing bowl – for wet ingredients.
Medium mixing bowl – for dry ingredients.
Piping bags and tips or Squeeze bottles – these will be used to decorate your cookies. If using squeeze bottles, remember to have one for each color you plan on using.
Food coloring – I prefer to use the gel food coloring as they are more vibrant.
Cookie Buttercream Frosting – I have included my favorite sugar cookie frosting recipe below.
- Key Tip – I often omit the salt in this recipe and simply use salted butter. I like the way it tastes much better. But your mileage may vary. I also add a tsp of cinnamon or nutmeg for an extra bit of tasty magic.
Now with that out of the way, let’s start mixing up the ingredients so we can begin baking our Cars Cookies!
Proper Measurements for Disney Cars Cookie Recipe
Before we dive into the heart of the recipe (mixing and baking instructions), here are the exact measurements we’ll be using today.
- 7 cups flour
- 1 tsp baking soda
- 3 tsp Cream of Tartar
- 1 cup (2 stick) salted butter
- 1 cup shortening
- 2 ½ cups sugar
- 6 large eggs
- 1 ½ tbsp Vanilla
Cookie Butter Cream Frosting
- 1 cup butter softened to room temperature
- 1 tsp vanilla
- 4 cups powdered sugar
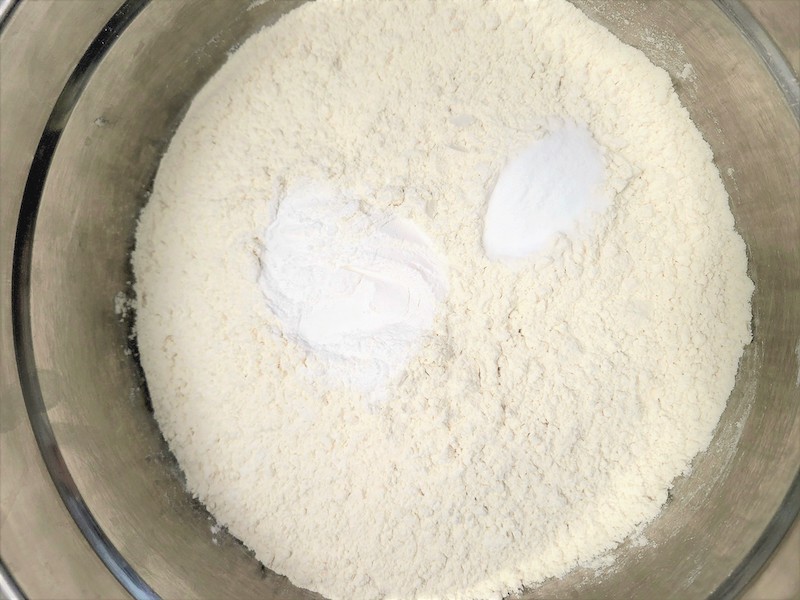
Mixing Your Cookie Batter
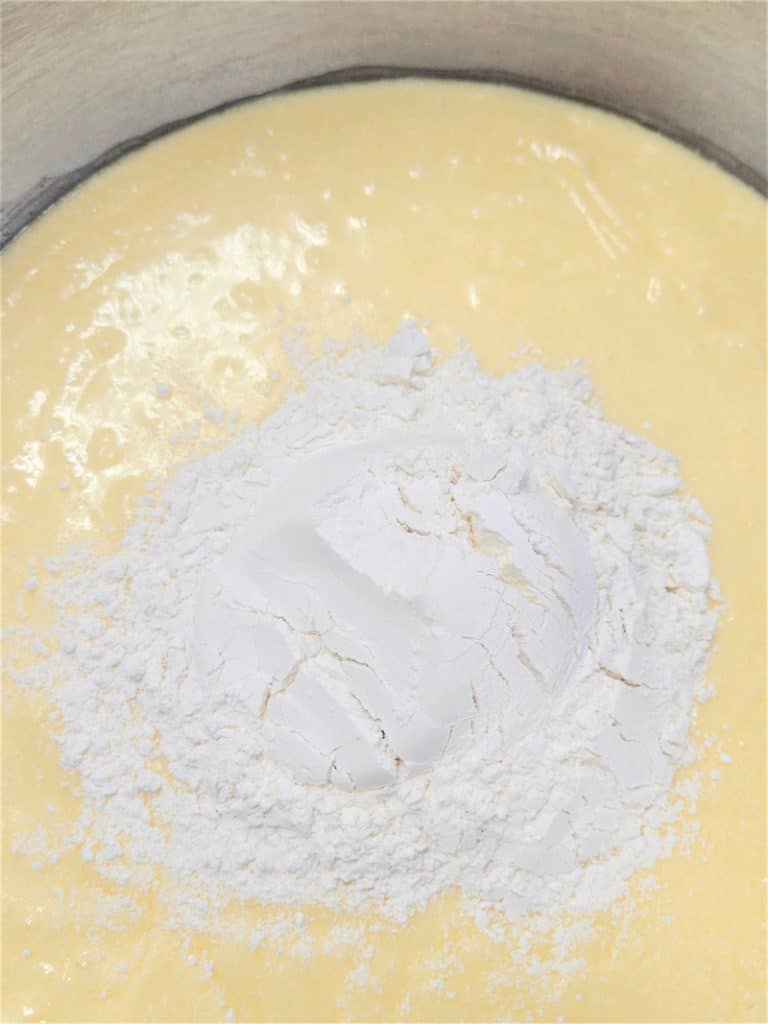
Start by whisking the flour, baking soda, and cream of tartar in a medium mixing bowl.
Next, in a large bowl, cream together the butter, shortening, and sugar until light and fluffy, about 2 minutes. Add the eggs one at a time mixing each one until combined then add the vanilla.
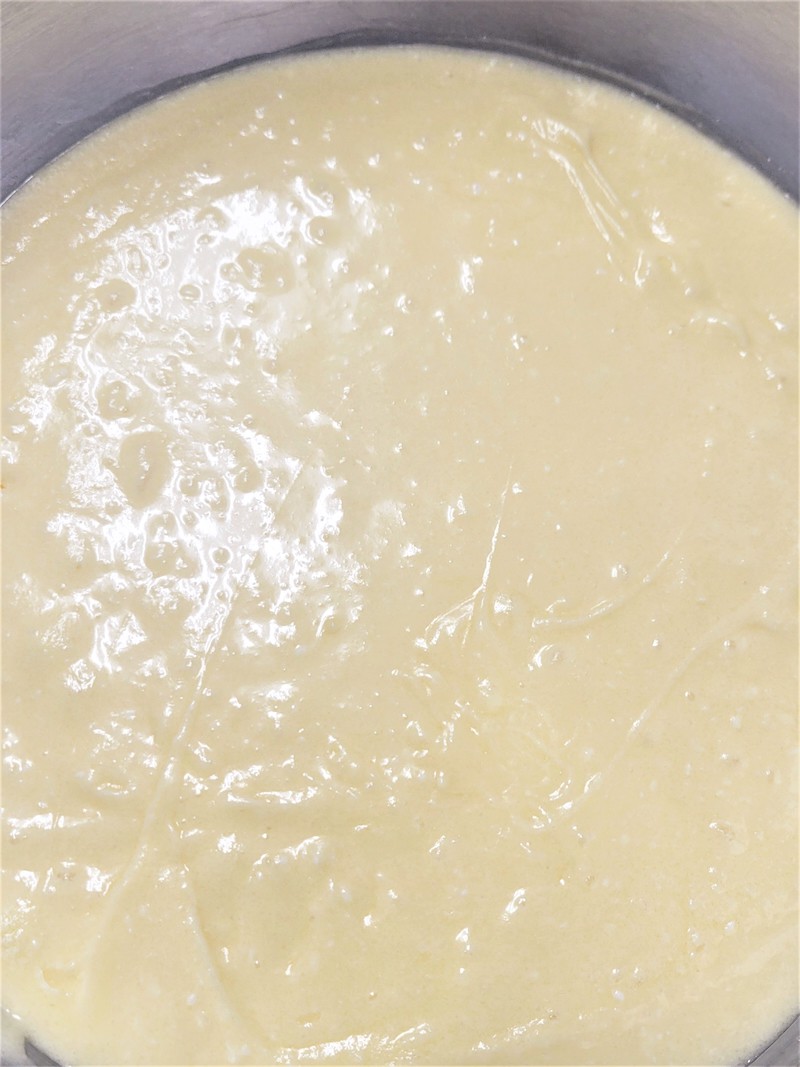
- Key Tip – Make sure your butter and eggs are room temperature before you begin.
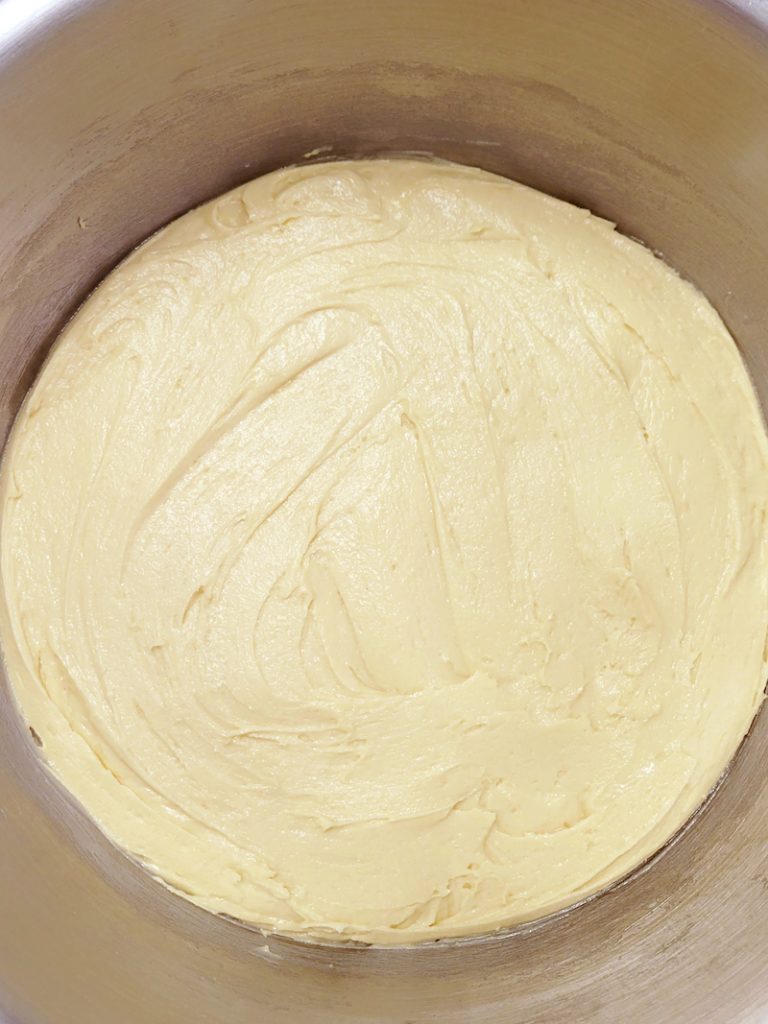
Add the dry ingredients to the wet ingredients a little at a time until combined. Let the cookies rest and chill in the refrigerator for at least two hours.
- Key Tip – Cookies will be sticky so it is best to refrigerate the dough for at least two hours or overnight is best. The cold dough is easier to roll and won’t stick as easy to the rolling pin. If you don’t want to wait, just remember, to flour the top of your dough as you roll. You may need to do this several times. Leave extra space on your cookie sheet as your cookies will spread.
Baking Your Disney Cars Cookies
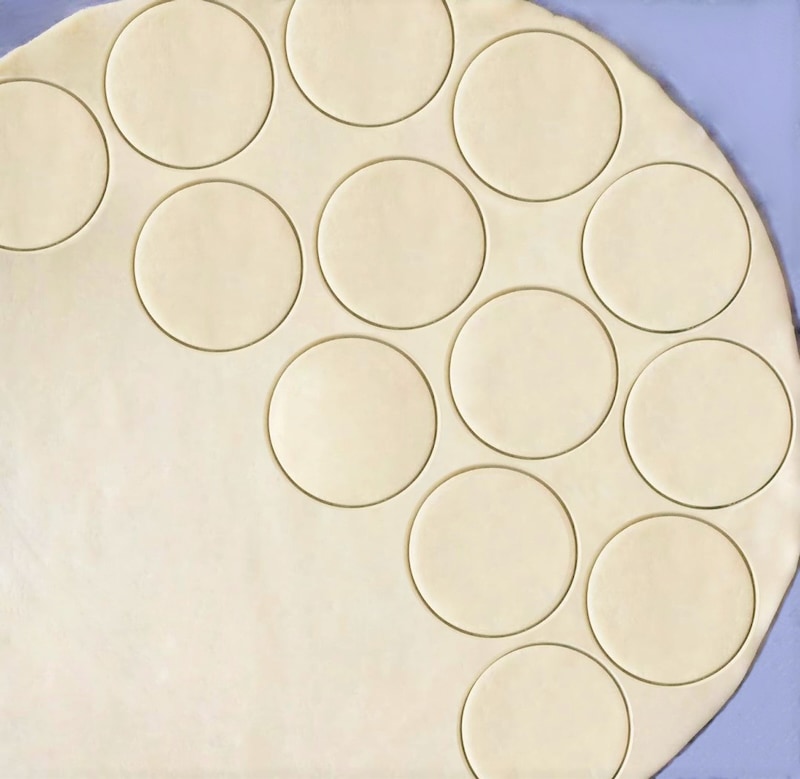
Preheat your oven to 350 degrees once the cookies are ready to roll. Divide the dough into two sections, rolling one section at a time. On a floured surface roll the first section ½ inches thick for soft cookies and ¼ inches or crispier cookies.
Here you can be creative with your choice of cutters. You can buy Disney Cars cookie cutters like Lightning McQueen or Mater, Mickey shaped ears, or round ones as I have used. Flour your cutter before every cut to make the removal of your cookie from the cutter that much easier.
Using your small turner place your cookies on a parchment lined baking sheet about 2 inches apart. Bake for 8 – 12 minutes until the center of your cookies have lost their gloss. (Don’t worry, your cookies will be done and delicious.)
Cool the cookies on your tray for 10 minutes, then move the cookies to a rack to allow them to finish cooling. Once your cookies are room temperature, they are ready to be frosted.
- Key Tip – Once you remove the cookies to the cooking rack, continue to bake your cookies. Let the trays cool completely as you don’t want your cookies to spread further.
Frosting Instructions
With a hand mixer cream the softened butter on medium until creamy, about 2 minutes. Add the vanilla and mix until combined. Add the powdered sugar, one cup at a time, until combined.
Once all the powdered sugar has been added, whip the frosting for 1 to 2 minutes. I am using five different colors for these Disney Cars cookies; red, black, white, yellow, and blue. Grab the kiddos, or fun for all ages, and let them expression their creativity.
- Key Tip – Divide the frosting with however many colors you plan on using. Remember to always save some white.
Here you will want to thin the frosting just a bit with milk, 1 tablespoon at a time, to line and fill in your cookies with frosting. Color each bowl of frosting to the desired color. Fill your piping bags with the colored frosting and then snip the ends of each bag to create a small hole.
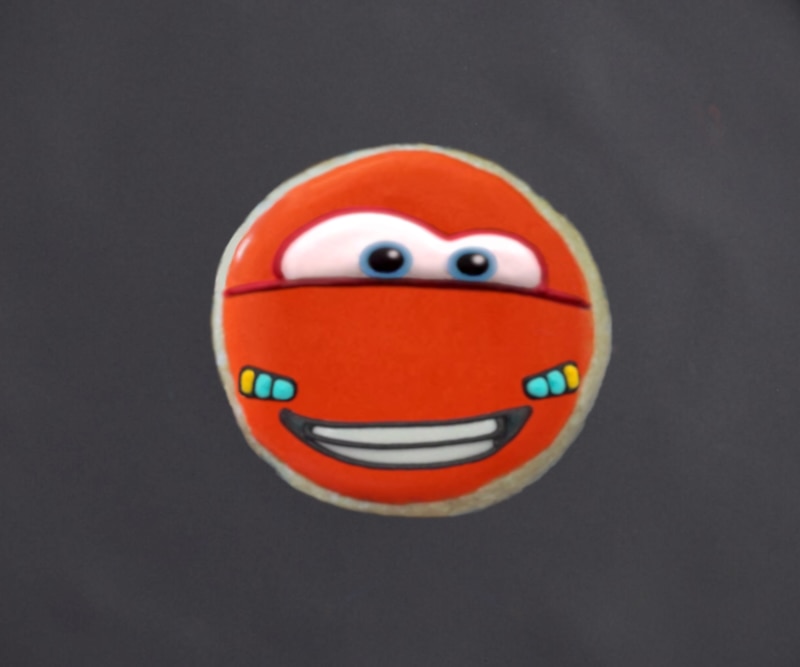
Start by lining each of your cookies with a single line around the outside of your cookies. Next, fill in your cookies with the matching frosting. Draw an arch and the eyes with red.
Next draw the headlights and the mouth with black. Fill in the eyes and mouth with white. Then fill in the blue of the eyes and two parts of the headlights. Next fill in the last of the headlights with yellow. Lastly dot the eyes with black and white.
- Key Tip – Allow the cookies to dry before moving to the next step.
How to Make Vegan Disney Cars Cookies
Need these cookies to be vegan? No worries—here’s how you do it.
First, substitute the butter with a plant-based butter. Replace the eggs with unsweetened applesauce. For the Buttercream frosting substitute the butter with a plant-based butter and use a plant-based milk such as almond or soy milk instead of the whole milk. Baking time will be the same
Gluten Free Cars Cookies
Just substitute the all-purpose flour for a gluten free version. I suggest using King Arthurs. I find that this brand makes the texture of these cookies as close to the original recipe as possible.
These cookies are perfect for parties or just for fun! For more Disney Cars inspiration try exploring this Disney Cars inspired site.
If you follow my tips and trick you will have the most delicious and most magical cookies. So, let’s get started!
Storing
Store your cookies in an air tight container for up to 5 days. These cookies can be frozen unfrosted for up to 6 months. The best part of extra cookies is that you can pull out your desired amount, frost, and enjoy.
The best part about how to make Disney Cars cookies is that you don’t have to go to anywhere to enjoy the excitement of Disney. These fluffy soft frosted cookies are enjoyable anytime, especially while watching Disney’s Cars.
If you enjoyed this article, please “like” my Countdown to Magic Facebook page!
This article was written by Tia and edited by Michael.
